I frequently get asked for tips on how to start a travel blog.
So I have put together a comprehensive step-by-step guide with all the info you need when taking the big step of creating your own blog using Wordpress. And best of all, it can take less than 5 minutes.
I’ll be upfront about this – I’ve got over 24 years experience in web design and have a very extensive background in programming so I do not use Wordpress for TravelWithBender.com. I use a more customized solution. But you don’t need anything complex when starting out and Wordpress is the most popular blogging platform in the world. In fact over 30% of all websites on the web use it, and for a good reason. So I highly recommend it for folks who want to start their own blog.
This guide is designed for real people, so I avoided using confusing jargon and have included easy-to-follow screenshots so you know you’re on the right track. So let’s get started!
Step #1
Setup Domain and Hosting (Domain is FREE when hosting your blog on Bluehost)
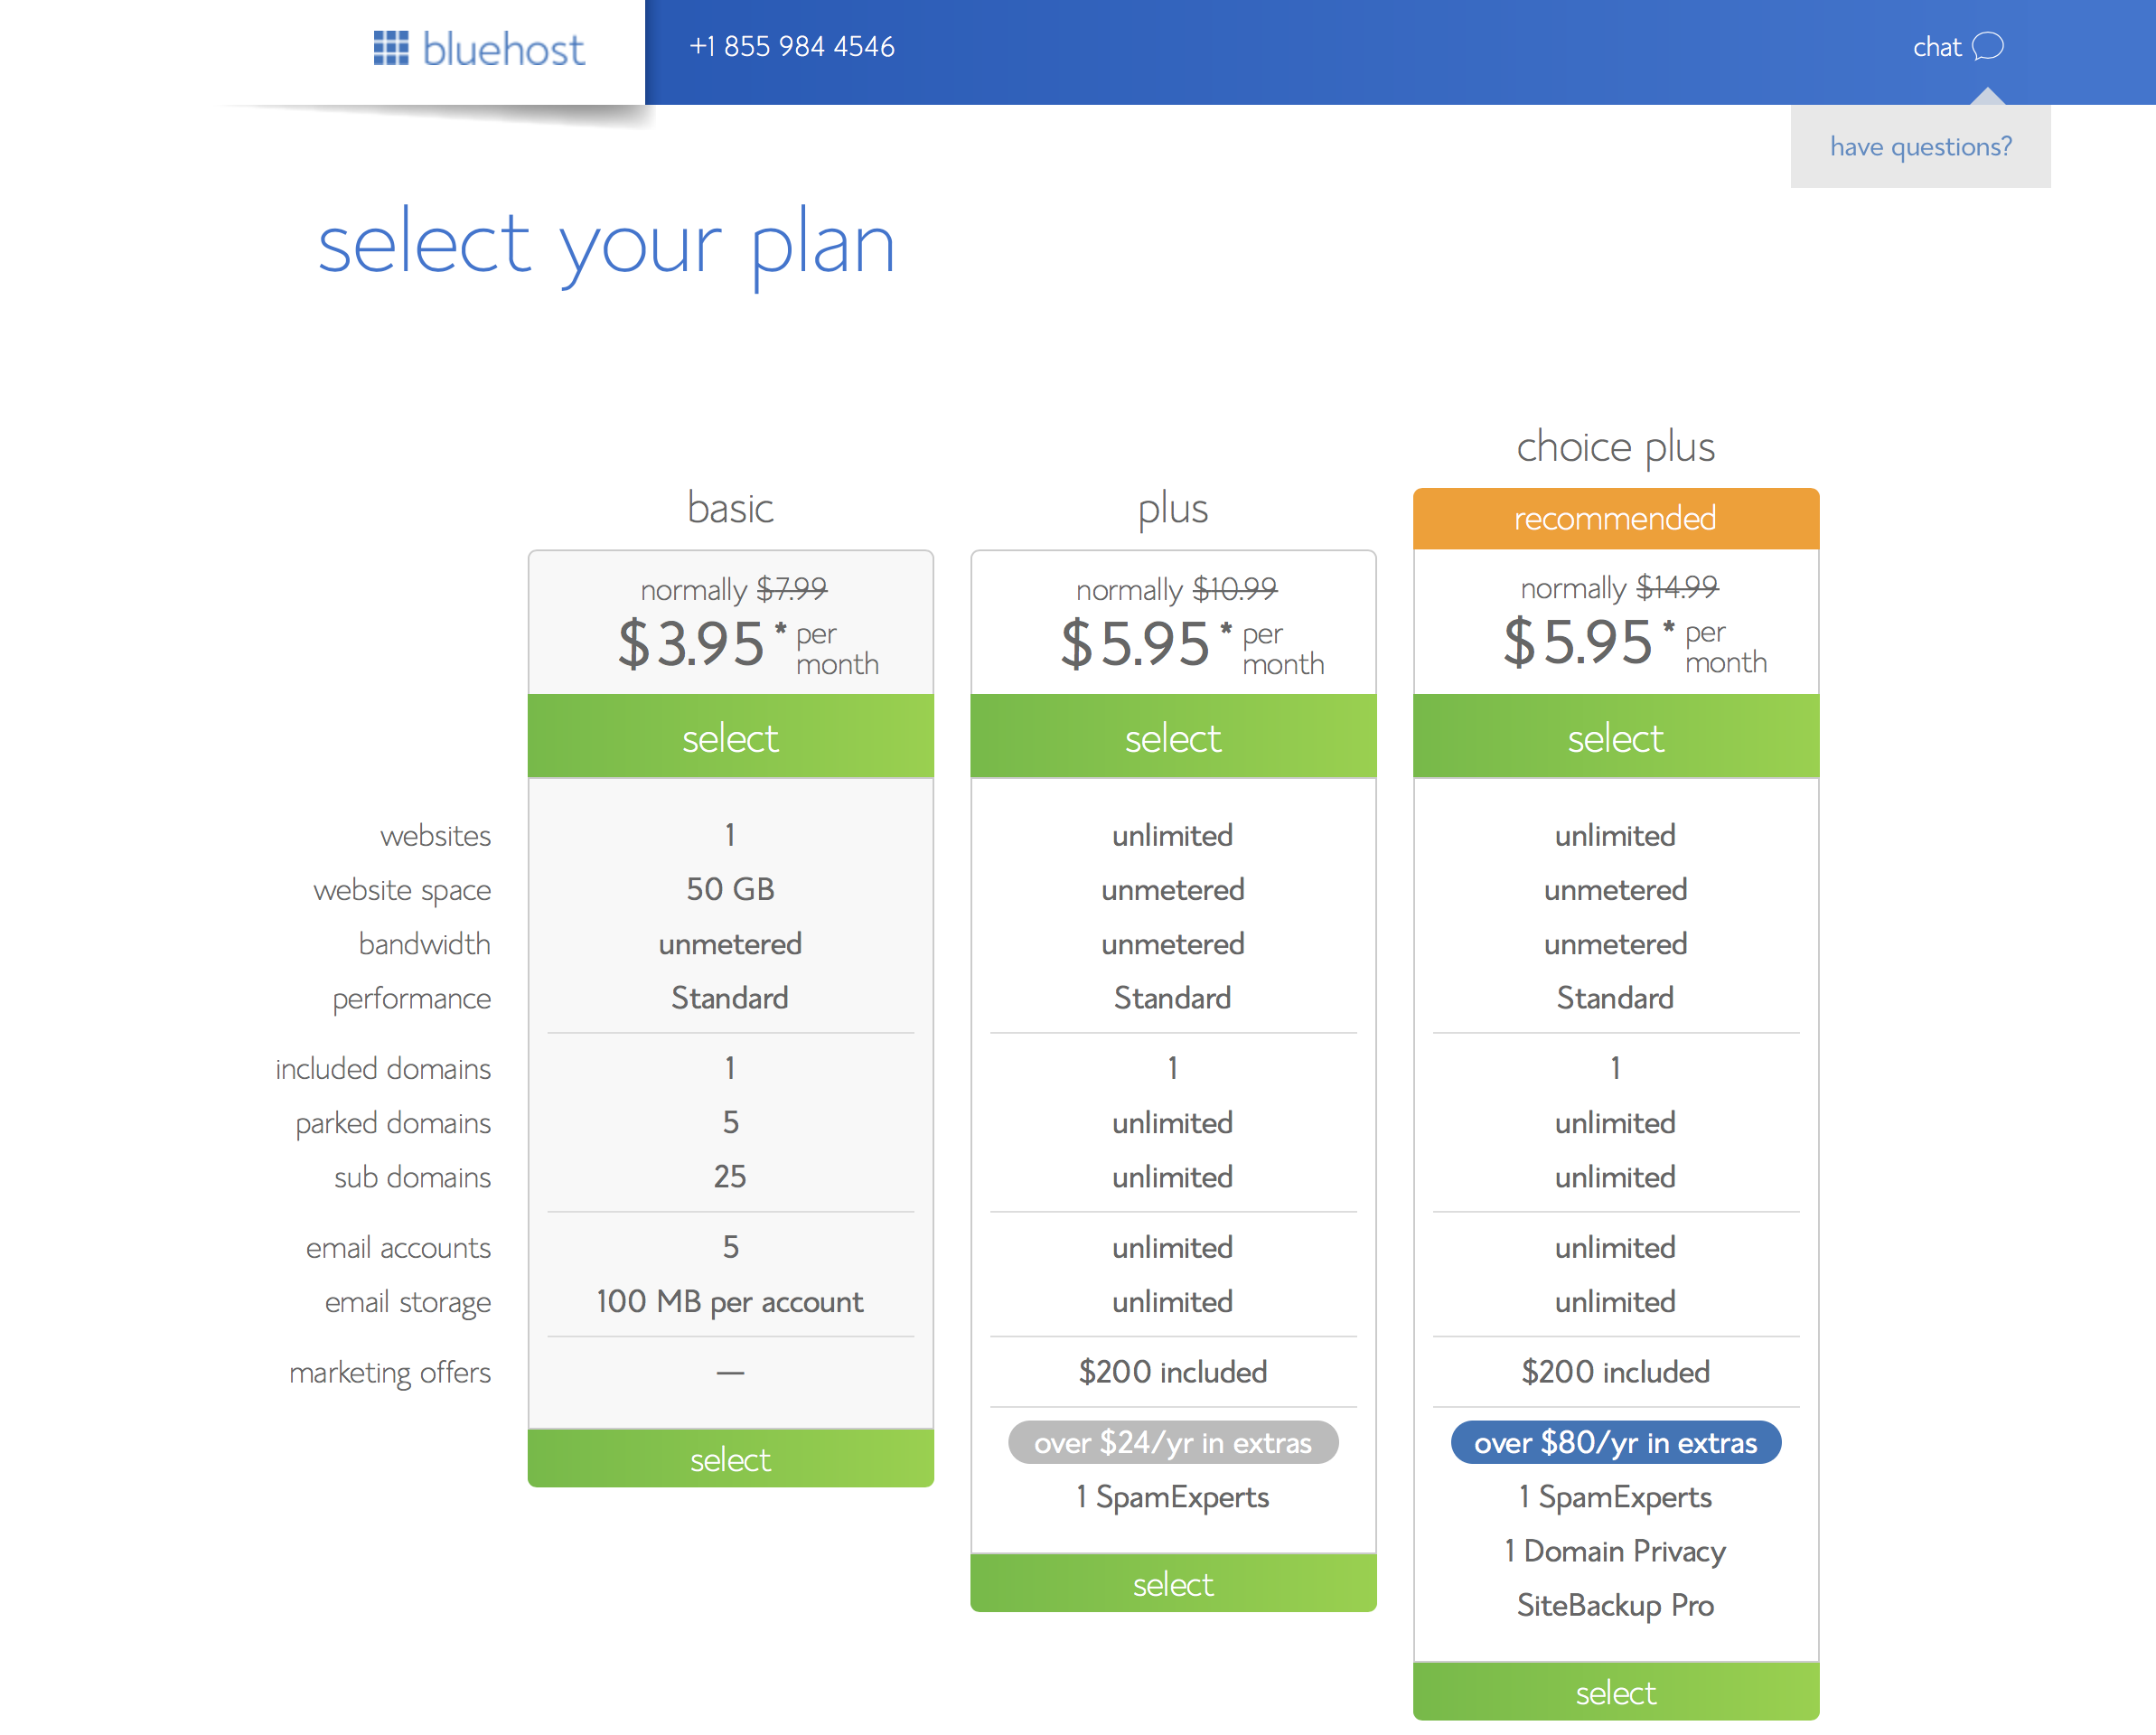
Your blog needs to live on a server somewhere so it can be accessed 24 hours a day (this is called "hosting"). So I recommend using Bluehost for hosting your blog. They include a free domain name with their hosting account and even provide exclusive offers for Wordpress users (the "domain" is your unique name for your website).
If you want to start now click this link to go to Bluehost, they have an awesome team of 24/7 support staff and rock solid infrastructure. Over 850,000 Wordpress blogs run on Bluehost, and the official Wordpress team only recommend 3 web hosting providers - Bluehost being #1. Enough said.
By clicking the link above you will help me earn commission for every hosting package purchased but it will not add any extra cost to you. And it will also make me smile :-)
Click the “get started now” button on the image below to avail this offer.

Upon clicking the banner you will start the process of creating your own blog!
The first stage will look like the screenshot below. This is where you will start picking your FREE domain name - there are many choices for domain name extensions. I suggest going with a “.com” address. Once you choose an available domain name you’re up to the next step!

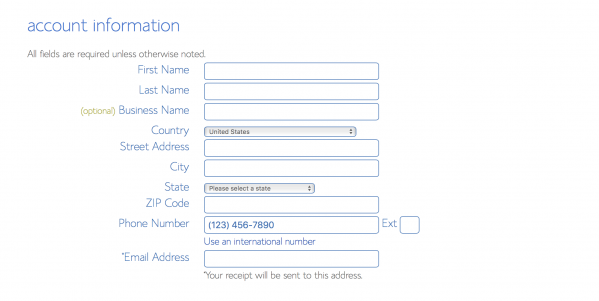
Now it’s time to put in your Account and Billing information. Please make sure that the information in the form is correct, as this will be used in case you need to prove ownership of the website/domain name.
You will also be presented with Account Plan optional extras. You don’t need any of these, but if you wanted to keep your contact details private when someone looks up your domain name, then I would suggest choosing the “Domain Whois Privacy” option so the public won’t be able to see your full name, address and email address, but its entirely up to you.


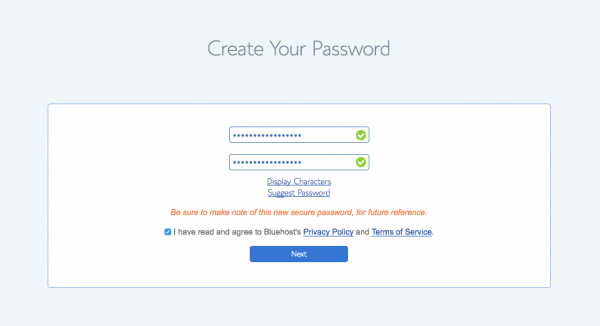
Once the credit card details have been entered, WordPress will be installed automatically. You will be prompted to set a password and logged in to your account.

Step #2
Getting to your website
Simply click on the 'log in' button. Your new blog should load in your web browser.
The default theme installed is a very plain theme but don’t worry as there are tons of themes available for use, both paid and free.

Step #3
Customise Your Site
Once logged in you'll get to pick a theme for your site. Don't worry too much about choosing the perfect theme, you can always change it later.


Next you will see what’s called The Dashboard. This is the place where the content of the Wordpress blog is managed. This is how you will add everything that will be seen by your visitor on the front-end (public facing portion of the website).


Step #4
Launch Your Site
When you're ready to go live, click the blue "launch" button shown above. You'll be asked to enter some final details like your site title and description.

Update August 2018: It's now easier than ever to start your own blog with Wordpress.com. It's fully hosted and you don't have to learn anything technical. No need to handle your own web hosting. It's super simple for anyone wanting to start their own blog. Find out more...
Step #5
Writing your first post!
Look for the “Blog Posts” section in the left part of the dashboard then you should click “Add New Post". This will take you go to the New Post Screen.
Here you will assign a Title for your new Blog post.
Of course after the title it’s now time to pour out all the creativity inside you and place it in the box under the title. Don't feel pressured to get it perfect, you can come back and edit your post later.
Once you’re done and everything is checked it is time to make that masterpiece available for all your readers. Just look for the “Publish” button on the right and click it. Presto... your blog post is live! If you wanted instead to just preview on how the article looks like you can also do so by clicking “Preview”.
Wow! You’ve done it! In less than 5 minutes you’ve completed all the steps to create your own Wordpress blog and even wrote your first blog post. You are now well on your way to becoming a successful blogger.
Any time you come back to manage your site through Bluehost, you'll see this screen

The Next Steps
You can do a lot with your new blog and when you’re just starting out there is nothing more valuable than expert advice. So I recommend photography, these 2 courses are great. I also love this travel blogging course.
Legendary travel writer Tim Leffel also has a course about travel writing that will get your creative juices flowing in no time.
Thank you for following my guide for creating your own Wordpress blog.
Now check out more of my Wordpress tips including the best free plugins to help you get the most out of your new blog.
Welcome to the world of blogging!