To find out how to get an exclusive 10% discount from KEH Camera on pre-owned camera gear, keep on reading.
Photography is not a cheap hobby. And when you mix travel into the equation its easy to be tempted to throw a lot of money into cameras and lenses so that you can perfectly capture your highly anticipated vacation.
I’ll help you keep more money in your pocket with my 22 favourite tips for getting more bang for your buck from your travel photography gear.
1. Decide on what you want
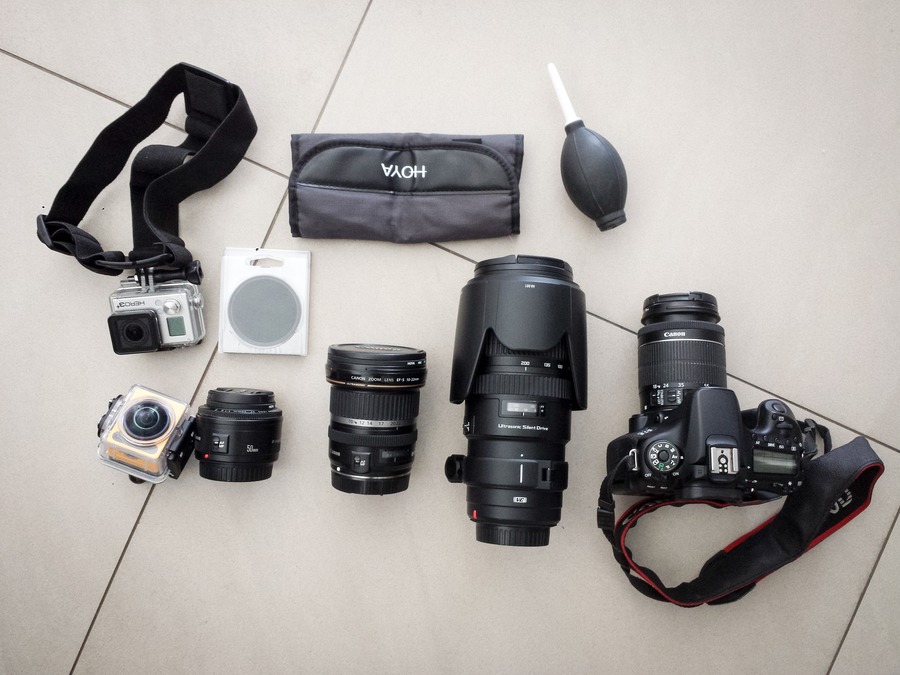
If you’re dipping your toe into the DSLR world and don’t know where to start, an entry-level camera will likely do the job. Once you’ve mastered that, then plan on upgrading to a more expensive mid-to-high range prosumer camera. Spending thousands of dollars on expensive camera gear before you’ve even worked out if you’re truly passionate about photography is an easy formula to waste money.
Camera shopping starting points (click links to check latest prices):
Compact camera: Panasonic Lumix DMC-ZS100 / Sony Cyber-Shot RX100 IV / Nikon Coolpix S9700
Entry level DSLR: Canon EOS Rebel T6i / Nikon D5300
Mid range DSLR: Canon EOS 70D (what I use) / Nikon D600
High end DSLR: Canon EOS 7D Mark II / Nikon D610
Professional DSLR: Canon EOS 5D Mark III / Nikon D4S / Sony Alpha A99V
Mirrorless (Interchangeable Lens): Sony a7R II / Samsung NX1
2. Buy last year’s model
Prices of new cameras at time of launch come at a premium, and tend to drop slightly within a few months. Unlike other consumer electronics, digital cameras tend to proceed in incremental improvements between models. Sometimes several years can pass before a new replacement model is available. Photography gear, when treated well, will last a long time.
3. Buy off brand
Lenses from Sigma, Tamron and Tokina are usually cheaper than lenses from the camera’s manufacturer (Canon, Nikon or Sony). In some cases these off brand lenses can offer even better quality!
Whilst off brand camera batteries can save a lot of money, they often don’t last as long, so you may need to purchase an extra one (or two).
As far as memory cards, never go off brand – it’s not worth losing your valuable photos. The best brands are Sandisk and Lexar.
4. Buy 2nd hand
Purchasing a pre-owned camera body or lens can save hundreds of dollars, but the biggest risk is quality. Buying from eBay or Craigslist is risky. KEH Camera is the world’s largest online pre-owned camera and photography equipment store. What I like about KEH Camera is they carefully inspect and grade every piece of equipment so you know exactly what you’re getting.
Most items are backed up with a 180-day non-transferrable warranty. So in the unlikely event something goes wrong soon after your purchase, you’re still covered. And in addition to camera bodies and lenses, they also sell flashes, light meters, filters, tripods and other accessories.
Get an exclusive 10% discount on pre-owned camera gear from KEH Camera with coupon code “TBEND10”. I don’t know when the discount coupon will be pulled, so take advantage of this discount before it's gone.
5. Sell, sell, sell!
While good quality camera bodies and lenses will last many years, their value still diminishes over time. If you’re not using your camera gear for a while, consider selling it. The longer you hold on, the more it goes down in value. Or when it’s time to upgrade your body/lens, sell your existing gear and invest those funds back into your new gear.
KEH Camera also purchase pre-owned camera gear. They provide clear pricing on what they’re willing to pay and the whole process is completely hassle-free.
6. Borrow or rent
If you’re not sure about spending all that money on new gear, try before you buy. There are a number of online stores providing camera gear rental on a daily rate, such as BorrowLenses.com, Lumoid.com, and LensProToGo.com. Or you can go peer-to-peer with CameraLends.com. This site is also a handy way to make money from your camera gear when it’s sitting around unused.
7. Learn before you upgrade
I’ve seen plenty of times tourists with camera gear worth over $2000 still shooting in auto mode. If you’re going to spend that much money on anything, then please do yourself a favour and spend the time to learn how to use it.
There are so many free resources for honing your photography skills like Digital Photography School, Digital Camera World, Digital Photo Secrets, and more.
How do you know if you’re ready to upgrade your basic camera gear? Here’s a handy checklist:
- You should be familiar with every single feature on your camera.
- You should be able to take very good photos (that you’d feel happy to print on a canvas and hang on a wall in your house)
- You should be shooting in RAW (not JPEG)
- You should be processing your photos in Lightroom (or similar application)
- You have a solid understanding of concepts like aperture, ISO, shutter speed, and focal length.
- Most of your photos are shot in either Aperture Priority, Shutter Priority or Manual mode.
- You already read photography articles at least once per week
Compare these 2 photos:
Shot with a Canon 70D and kit 18-55mm lens (value US$1299):

Shot with a Panasonic Lumix DMC-ZS100 (value US$699):

Which one looks better?
8. Skip the kit
If you know what kind of photography style you’re trying to achieve or have a clear idea of your preferred subject (such as portrait, landscape, architecture, sport, street, food, etc), then skip the kit lens bundled with your camera and invest those saved funds into a better quality lens that will do the job right.
9. Protect your lens
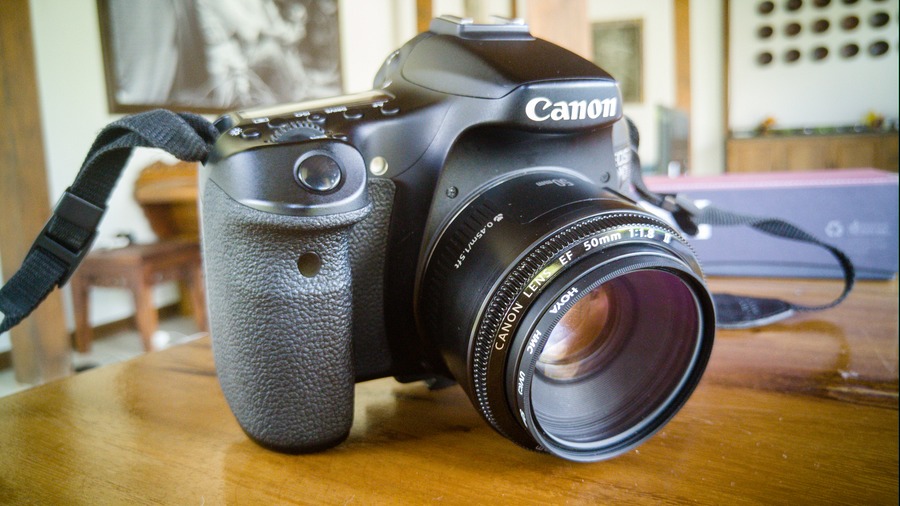
Most camera lenses are not cheap, and once they’re scratched, they can’t be un-scratched. An inexpensive UV filter helps to prevent accidental scratches and reduces the wear and tear on the glass.
10. Use a lens adapter for your new camera body
If you’ve upgraded your camera body, but still want to put those older lenses to use, invest in a lens adapter.
The downsides of an adapter are image quality can be softened and focusing speed sacrificed.
But on the upside, you’ll have a big wad of banknotes back in your pocket.
For a more in-depth guide to lens adapters, click here.
11. Use extension tubes
Getting up close to your subject usually requires an expensive macro lens. But you can save money with an inexpensive extension tube – just attach this between your existing lens and camera body, and presto… instant magnification! Stacking multiple extension tubes increases the magnification, and a cheap set will set you back as little as US$20.
12. Good quality camera backpack
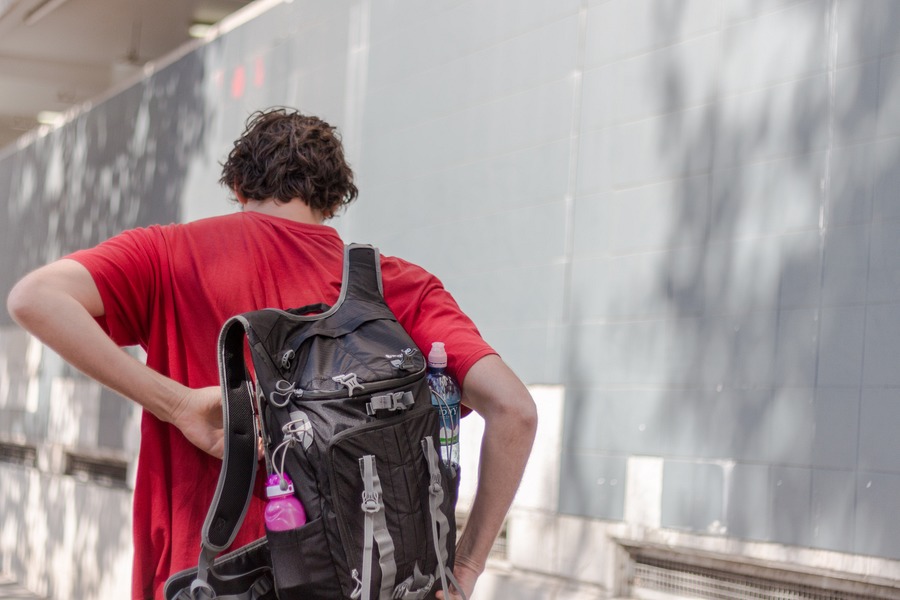
Losing or damaging your camera equipment because of scrimping on a travel bag is the quickest way to waste your hard-earned money. I use the Vanguard Sedona 45 backpack, which has saved my bacon on a number of occasions. One time I got caught in a torrential downpour in Langkawi, Malaysia whilst on a small boat in the middle of the ocean. I thought my camera gear was done for, but the water-resistant lining of the bag saved the day.
13. Choose a tripod over an expensive lens
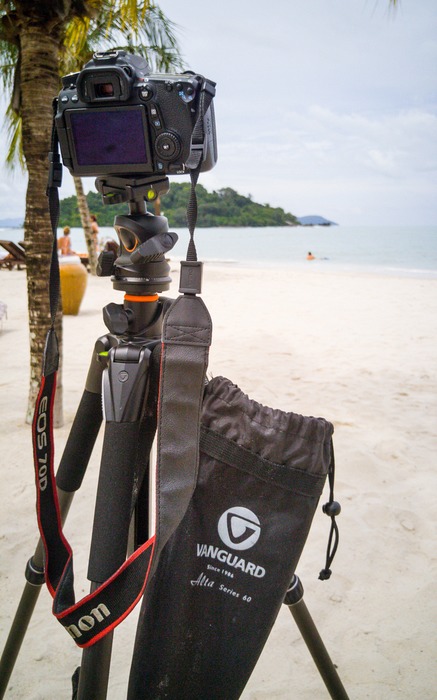
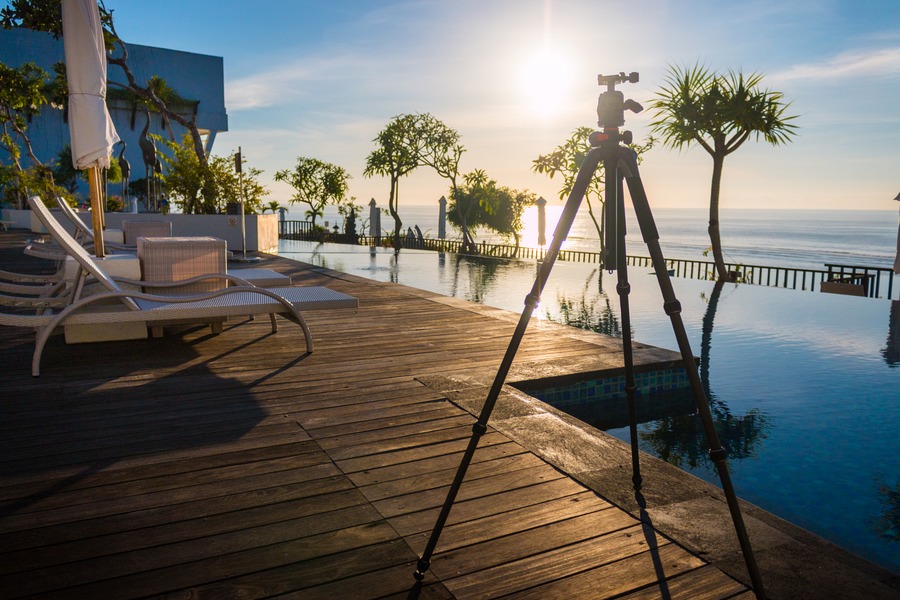
If sharpness is your goal, it’s usually cheaper to choose a sturdy tripod over a high-end, fast camera lens. In addition, a tripod will enable you to capture long exposures and night scenes with ease. See which tripod I use.
14. Rechargeable batteries
Chances are your flashgun uses AA batteries (or similar). Resist the lure of cheap alkaline batteries and choose rechargeable NiMH batteries to save money and create less waste.
15. What the sheet?
One of my favourite home-grown photography accessories is an old black (or white) bed sheet which serves as a backdrop for portraits.
16. Reflectors
Wrap a sheet of cardboard (cut from a box is fine) in aluminium foil and you’ve got yourself an almost-pro-quality light reflector. Angle this near a portrait subject to reflect the natural or artificial lighting, and you’re in business. A white Styrofoam board also works wonders to add more light to your scene.
17. Instant mini soft box
This is handy for shooting small items. Cut out the bottom of a white plastic cup and secure it the end of your camera lens with a little sticky or gaffer tape. Then place your subject on a well-lit table or floor. Cover the item with the cup and the camera facing down. Here’s a more in-depth guide or take the concept further and make a DIY lightbox.
18. Flash diffuser
While a flash diffuser isn’t all that pricy, every little saving can help. A simple combination of white paper and a rubber band wrapped around a flashgun, or just a piece of opaque white/cream masking tape over a built-in flash works just as well.
19. Memory card storage
I’ve used this tip for several years. Twist a lens and body cap together to instantly create watertight storage space.
20. Post processing software
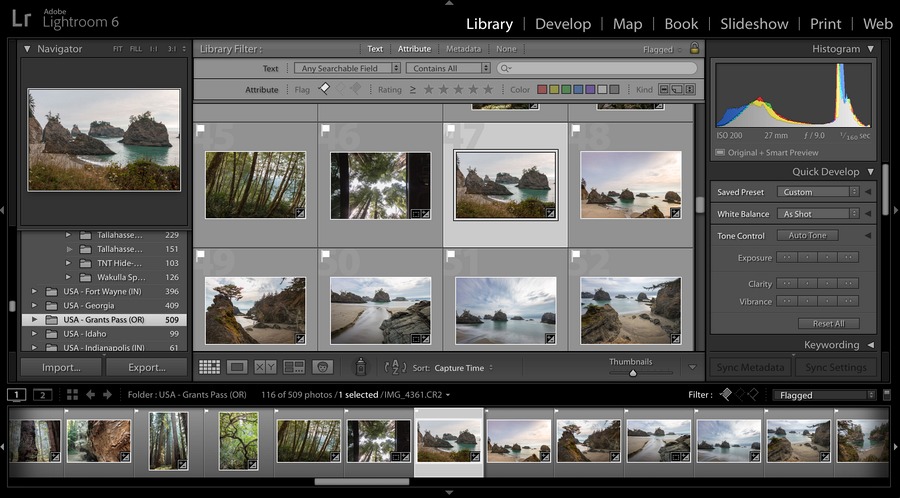
If you’re purchasing Adobe Lightroom, options include an outright license (around US$149) or subscription (for just US$9.99 per month). A subscription is the smarter option if you just want to try post processing without a substantial commitment, or you’re saving pennies for your next camera body or lenses.
21. Free editing software
If you really don’t want to part with your hard-earned dollars, here are a few free options for editing photos:
Web-based tools (no software to install):
Fotoflexer, Pixlr Express, Photoshop Express, Picmonkey
Downloadable software:
GIMP, Paint.net, Photoscape, Raw Therapee, Fotor, On1 Effects, Magix Photo Designer
22. Get insurance
For amateurs, your home contents insurance should cover photography gear (but check the fine print). And if you’re travelling, take a closer look at your travel insurance limits. You don’t want to leave your considerable investment in camera gear unprotected.

Get an exclusive 10% discount on pre-owned camera gear from KEH Camera with coupon code “TBEND10”. I don’t know when the discount coupon will be pulled, so take advantage of this discount before it's gone.



Reader Comments...
"I respond to every comment by direct private email. I look forward to your feedback" - Josh BenderGreat advice! I carry my Canon 7D almost everywhere I go when I travel and I get comments every day about how "That must take great pictures". In actual fact however, it's the light, the setup and the patience that's involved in taking great photo's and unless you really really know your camera, you can often get something really spectacular with just a good camera phone or a point and shoot. If you are interested in learning proper photography, get started with a Rebel series, learn manual and shoot RAW. When you've got that mastered, then think about spending money on lenses.
I agree with most of these, and I've been really happy with the quality of the LUMIX DS100 - I've been leaving my DSLR at home more and more and just shooting with the LUMIX. But from a standard photojournalistic/travel perspective, I'd go for a fast lens over a tripod anytime. I can usually find something to balance a camera on for long exposures, but if the glass isn't good, the photo won't be good. Sure the tripod is cheaper, but it's one more thing to pack and I don't think it's a good tradeoff.
Great post packed with great tips!
Especially for some newbies out there with smaller budgets, I love your tip about the tripod. When we had a cheap DSLR camera (and we still don't have the highest end one) we were still able to take some great professional style shots with a tripod.
So for those with smaller budgets, they should use a tripod and be selective with the photos they share on their blog and social media outlets.
My wife is the photographer in our team ( she's the blogger, web designer, technician...everything actually). I'm the guy trying to save us money! Hi Josh, good tips. Tripod next!
Write Your Comment
Please DO NOT include links, URLs or HTML in your comments - they will be automated deleted and you will waste your time.