Have you ever seen an amazing travel photo and wished you could create something just like that?
Maybe you’ve even purchased an expensive DSLR camera in the hopes of becoming the next big Instagrammer but constantly get frustrated that your shots don’t quite jump off the screen.
It feels like there’s something missing…
And you’re right.
There’s a well-known saying amongst professional photographers, “the magic is in the post”. This means that capturing the image within the camera is only half the job, the other half is “post-processing”. I’m referring to the use of image editing software tools to tweak the photo to look more like what the human eye would see (even the most expensive camera can’t compare to the power of nature), or perhaps add your own artistic flair.
However, there’s always been one big hurdle. Learning advanced post-processing software like Lightroom takes considerable time and dedication.
I have to admit, it’s not for everyone.
So, what are you supposed to do?
When I heard about a new image processing software that uses advanced artificial intelligence yet required no tutorial and zero learning curve, I didn’t believe it was possible.
Until I tried it for myself.
What is Photolemur?
Photolemur might just be your new best friend. This deceivingly simple app takes your ordinary photo, sprinkles a little fairy dust on top and… presto! Your photo looks a million times better.
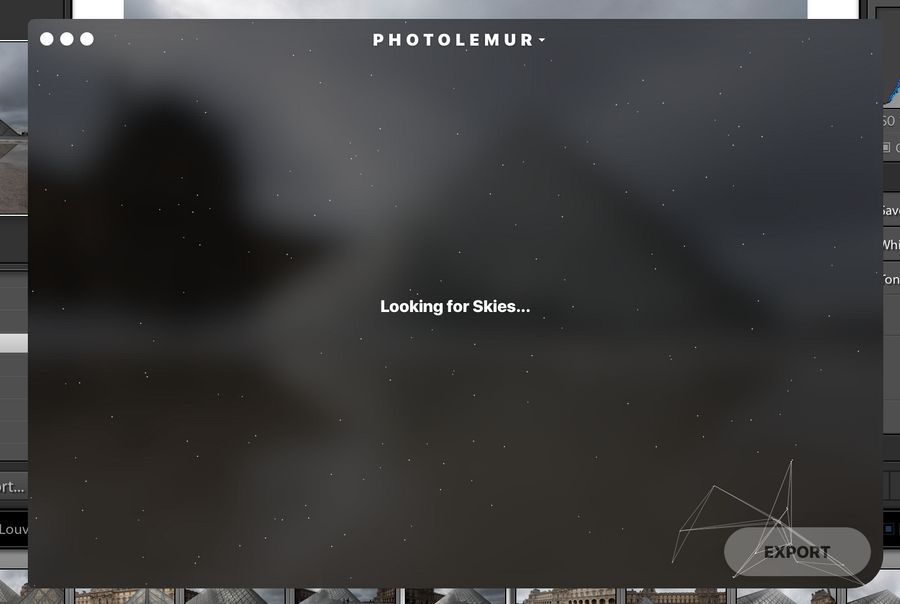
But don’t let its extreme ease of use fool you. There’s a lot of amazing things happening under the hood. The artificial intelligence analyses your photo, recognises objects within the shot (such as trees, sky, faces, etc) and takes into consideration different styles of photography (portrait, landscape, macro). Enhancements are made to specific elements within the frame, not just on a global level.
There are no filters or presets. No sliders or dials.
Just drag and drop and you’re done. Literally.
UPDATE September 2018: The latest version (v3) of Photolemur takes the power even further with new features like: automatic face enhancement (skin retouching, teeth whitening), smart eye enlargement, new support for styles, quick menu for opacity control, and more.
Tip: Looking for an alternative free online picture editor app? Check out Adobe Express.
Who is Photolemur for?
I’m a self-confessed Lightroom junkie. This is the go-to app for most professional photographers, and for very good reason. The majority of professional photographers are control freaks who want their images to look a very specific way. Photolemur is not for them.
Instead, Photolemur is trying to help everyday folks make their special moments shine. Whether you are a complete newbie or a seasoned mobile photographer, or even a DSLR photography enthusiast, this software is designed for you.
You can import photos captured on pretty much any device: smartphones, digital SLR (DSLR) cameras, mirrorless cameras, compact cameras, action cameras, drones, webcams, you name it.
How to use Photolemur
I really don’t need to write anything for this section. If you have even the most basic computer experience and can copy an image from your camera to your computer (either via a memory card, cable or cloud storage service), then the hardest part is complete.
There’s a cute (and very short) tutorial displayed when opening up the application for the first time that explains there’s no need for a tutorial. There’s really only 1 important button in the whole app – “export” – so you can save your new images. Maybe you didn’t believe me when I said it’s this easy.
Get to the point, Josh!
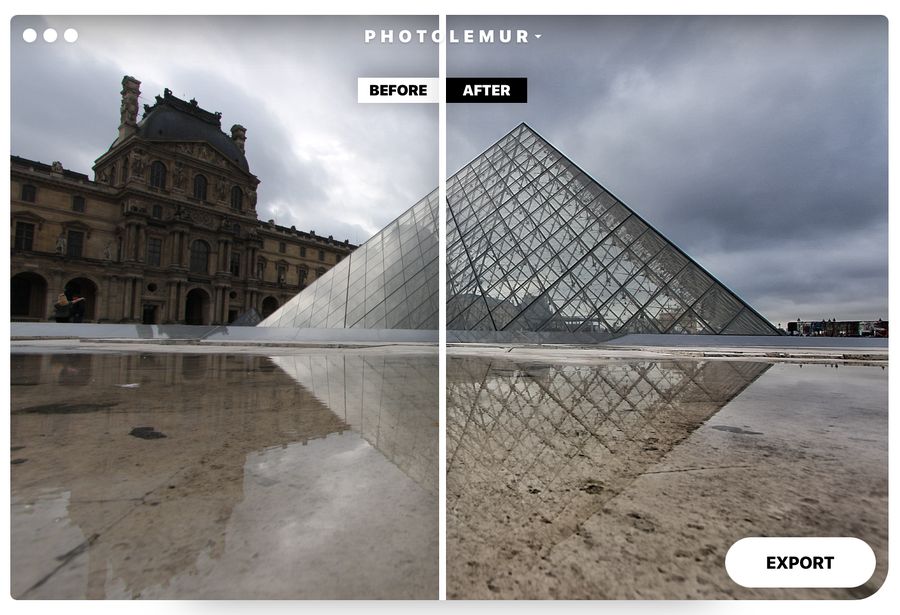
Ok, so you want to see exactly what Photolemur’s artificial intelligence looks like in the real world? I bet!
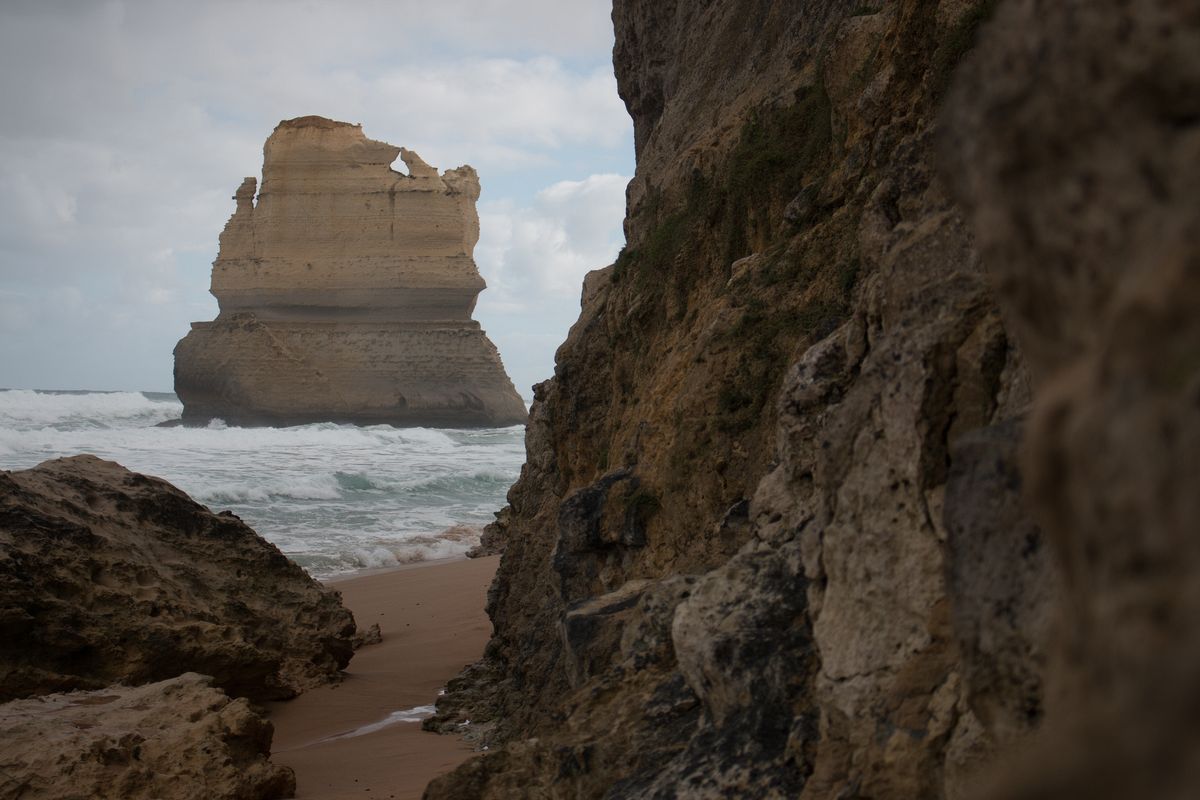
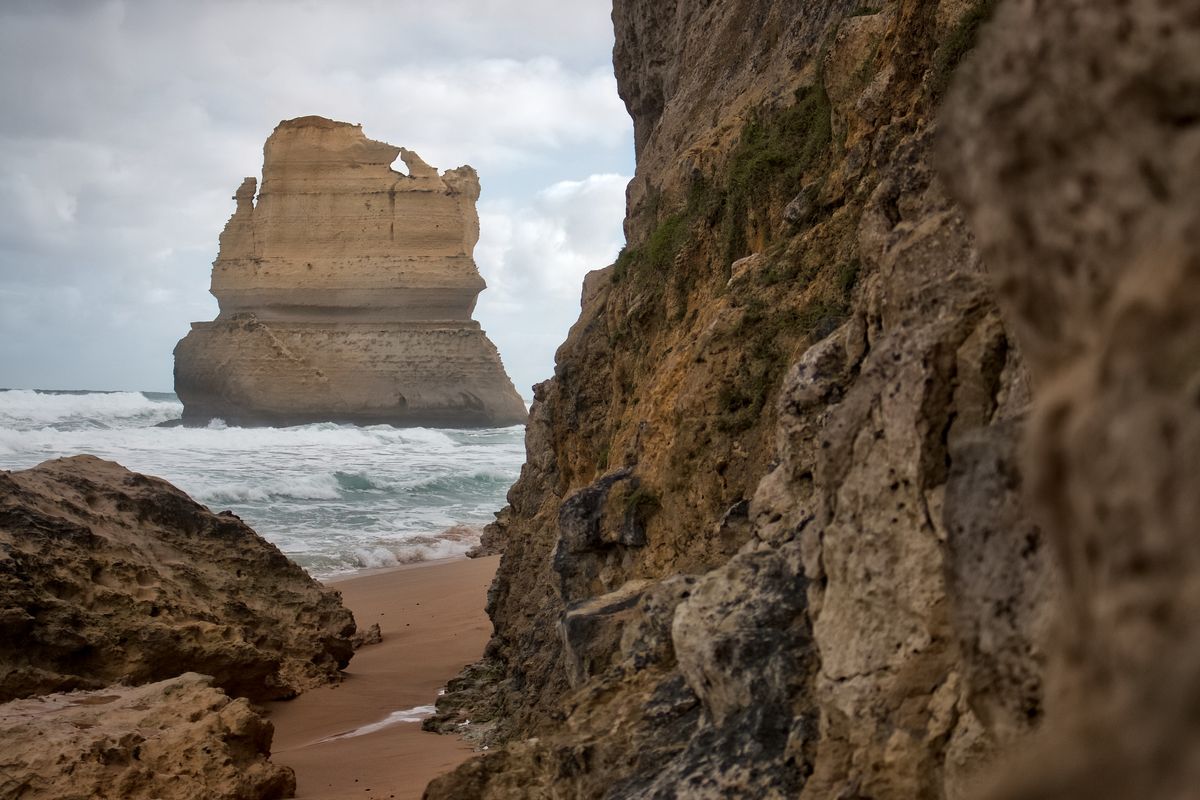
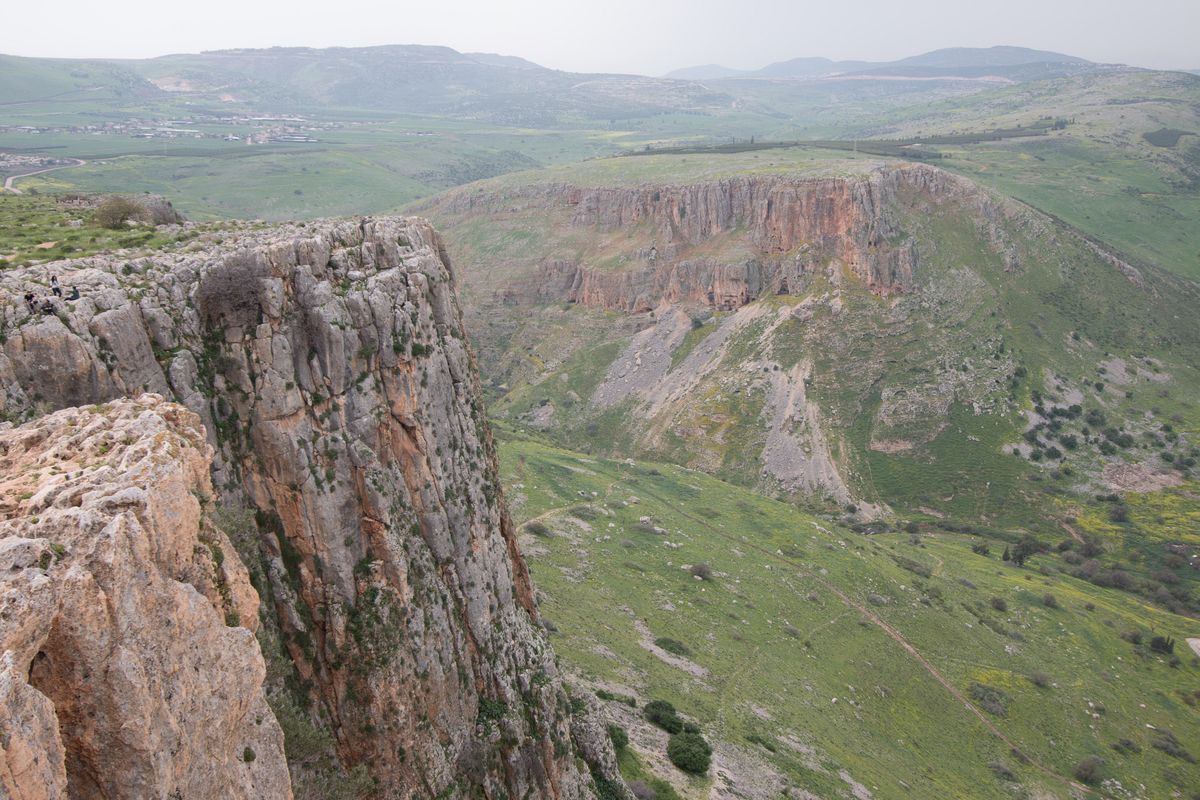
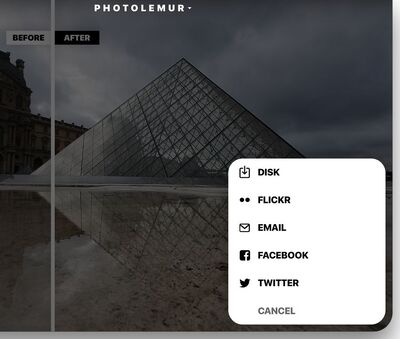
Here’s a handful of my own photos thrown into Photolemur. Drag your mouse over each image to compare the "before" and "after" version.


What I like
Apart from the obvious key feature of being the epitome of user-friendliness, Photolemur gets high points for the following:
- Drag-and-drop support – no confusing screens with lots of menus. Just a simple screen that’s so easy to follow your grandmother could do it.
- Fast image analysis – a 20 Megapixel photo takes about 5-8 seconds. After that point, an interactive before/after version is displayed on-screen.
- Fast image export – once you’re ready to save your creation, the export process took around 10 seconds per image. Factors such as your image size and hardware specs will influence this time.

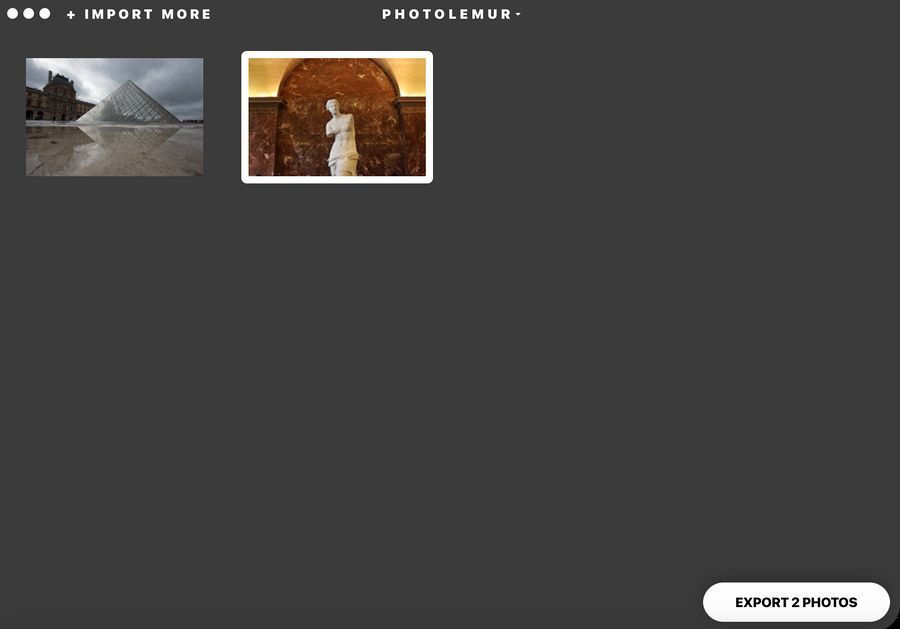
- Batch support – it’s unlikely you’re only taking 1 photo at a time. Save time by easily importing and exporting multiple images.
- Results are immediate – the before/after view doesn’t require any hoops to jump through. Simply drag your mouse left and right to move the divider.
- Multiple export options – while I tend to go with the vanilla export option of saving the modified image to my computer, there are 1-click options to export to Flickr, email, Facebook and Twitter. More options will be released in future versions.
- Multiple output file formats – JPEG is the most common file format and works well on the web, however if you prefer an alternative format (such as TIFF, PNG, Photoshop and more) then you’ve got it.
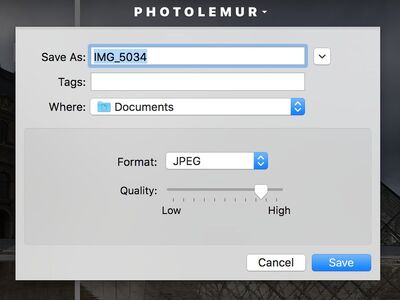
- One step ahead – after the export is complete, a handy “reveal in finder” button makes it easy to locate your new images.

- Cross platform support – Photolemur works on Windows and macOS. Mobile and web versions are in the works.
- Lightroom users, rejoice! If you still want to use Lightroom for your cataloging, Photolemur includes Mac plug-in support for Lightroom and Apple Photos.
What I don’t like
I’m a perfectionist. What can I say?
While my only qualm with Photolemur won’t affect the majority of average everyday users, in the interest of complete transparency I feel obliged to point it out.
I was excited to see RAW file support in the list of features. If you’re not familiar with RAW, it’s essentially the camera’s ability to capture an image with no compression, offering higher levels of detail and quality.
However, it seems Photolemur doesn’t effectively use all that juicy detail in RAW files. In my tests, the results from RAW files tend to lose highlights, lose saturation and output a less natural image. Strangely, the highlight loss is not evident in the “preview”, but only once the image is exported. Perhaps this will be improved in a future version.
But don’t despair. I found 2 very simple workarounds. 1) Export the RAW images to JPEG format (via Lightroom or a similar application) before importing them into Photolemur; or 2) Use Photolemur’s Lightroom plugin to process the images (however this 2nd option is a little slower as the image is converted to TIFF format along the way).
Compare the speed
This short video compares the time it takes to process a photo in Photolemur and Lightroom. The results speak for themselves.
The Verdict
I’m thoroughly impressed with Photolemur and I can now recommend it as the go-to post-processing application for photography novices and enthusiasts. If making your photos shine has been fraught with frustration, then consider your struggle a thing of the past.
I’m a qualified software engineer so I can appreciate the beauty that goes into the engine under the hood. But I know what you’re going to appreciate is the newfound beauty in your digital photos… all thanks to a cute lemur.
Price: free trial, then from US$35
Where to find: https://photolemur.com


Reader Comments...
"I respond to every comment by direct private email. I look forward to your feedback" - Josh BenderThank you So much I was so frustrated i couldn't find on how to use my web cam saw your video on youtube and it helped . thank you again. I have an asus computer as well and it is not a easy computer to navigate through.
Excellent video very helpful. I just bought an Asus machine (my first) and was puzzled by the same thing. Just one thing though, update the video with a caption that explains that its 'v' and not 'b' cause its not clear and also put in that regardless of the icon being on the button the key still works. Also btw adding that the virtual camera app is for the camera to work with multiple apps would educate your viewers further.
Ragerds:Moses Brodin
Thanks for every other informative web site. The place else could I get that kind of information written in such a perfect approach? I’ve a venture that I am just now operating on, and I have been on the glance out for such info
Regards
Ross Alisha
Write Your Comment
Please DO NOT include links, URLs or HTML in your comments - they will be automated deleted and you will waste your time.