Most trips leave you with hundreds of photos.
Then you spend an hour going through them and end up keeping maybe ten. The rest are blurry, washed out, or slightly off, so you delete them. Sounds familiar? The good news is it's pretty easy to fix.
This guide walks through simple travel photography tips that work on both phones and cameras. They’re the same techniques professional photographers rely on, just made accessible for everyone.
Most of the photos used in this guide are provided by João Pacheco — you can see more of their work here.
Preparation Checklist for Tourism Photography
Most missed shots have nothing to do with skill. They happen because something simple gets overlooked. And a few quick checks fix that.
- Clean the lens. A quick wipe removes smudges that make photos look soft or hazy. Use a microfiber cloth if you have one, or at least avoid rough fabric that can leave marks.
- Charge your device. Phones and cameras drain faster when you shoot a lot, especially if you use video, HDR, or navigation at the same time. It helps to start the day with a full battery and, if possible, carry a small power bank or spare battery.
- Check your storage. A full memory card or phone can catch you off guard at the worst moment, so it's worth sorting out before you leave. If you don't have much time to go through everything manually, a cleaning app can help — Clever Cleaner is a solid choice for removing duplicate iPhone photos, while Google Files works great for freeing up space on Android. For cameras, the simplest approach is to back up your files and format the memory card before the trip.
- Keep gear simple. A phone or a lightweight camera is often enough. If you bring extras like a tripod or lenses, make sure you’ll actually use them.
- Back up your photos. Do it at the end of the day. It takes a few minutes and protects everything if something goes wrong. Cloud backups, external drives, or even another device can work.
Once these basics are in place, you can focus on what actually shapes your photos.
Use Light to Take Better Travel Photos
If there’s one thing that consistently separates good travel photos from forgettable ones, it’s light. The same place can look flat and dull at one time of day, then completely different just a few hours later. Learning to read light is more valuable than any camera upgrade.
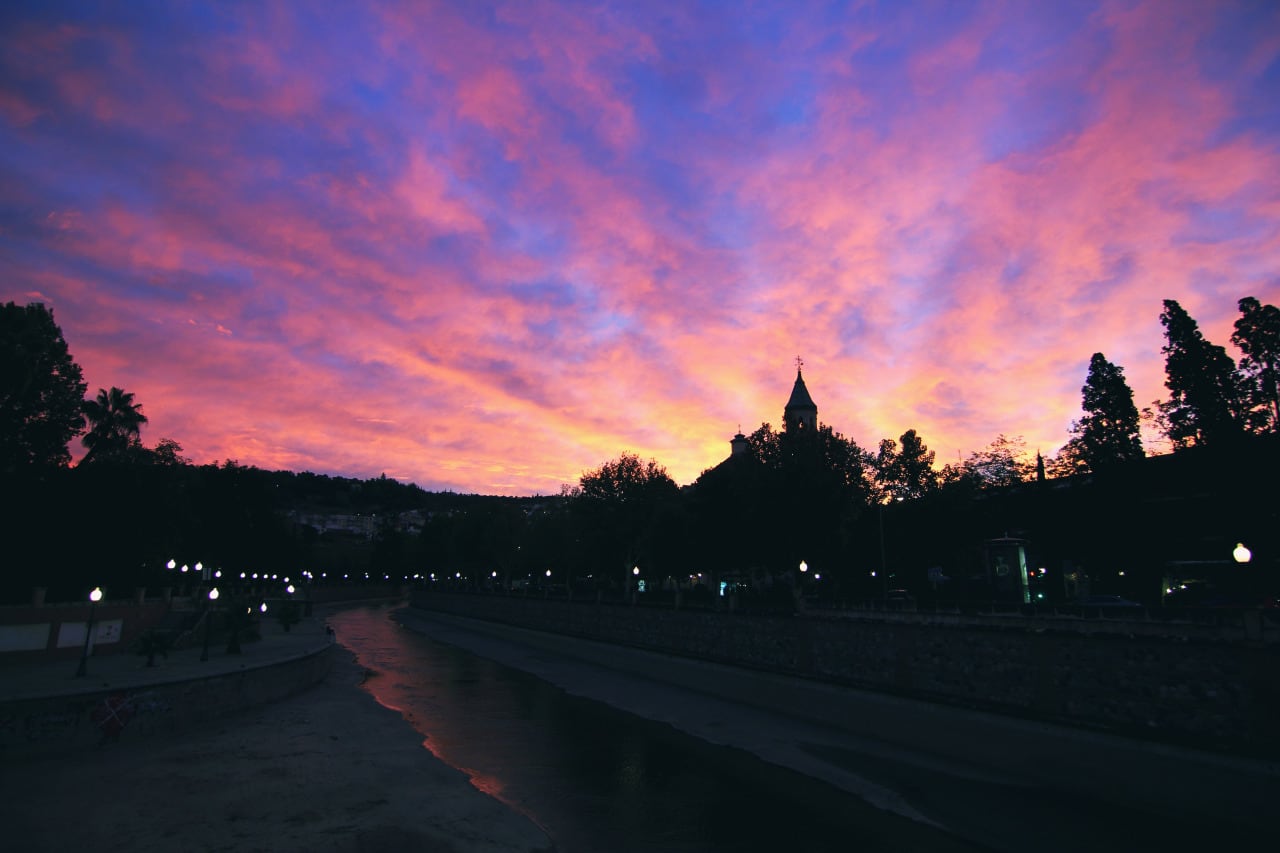
Shoot at the Right Time (Golden Hour & Blue Hour)
The easiest way to take better travel photos is to shoot when the light already works in your favor. Early morning and late afternoon, often referred to as the golden hour, give you soft, warm light that adds depth and color without much effort. Right after sunset or before sunrise, blue hour creates a cooler, more muted look that works well for city scenes and landscapes.
There’s another advantage here: fewer people. Popular spots feel calmer in the morning, which makes composition easier. You don’t have to fight the crowd to get a clean shot.
Handle Harsh Light During the Day
Travel doesn’t always follow a perfect schedule. You’ll often shoot in the middle of the day, when the light is strong and shadows are harsh. Faces look too contrasty, and bright areas lose detail. It’s harder, but not impossible.
Here’s what helps:
- Look for shade. It softens the light and evens out exposure.
- Change your angle. Sometimes one step to the side fixes the entire shot.
- Use shadows creatively instead of avoiding them completely.
Phones handle dynamic range better than they used to, but even modern cameras struggle in extreme contrast. Another simple rule is that if the light feels uncomfortable to your eyes, it will probably look harsh in your photo too.
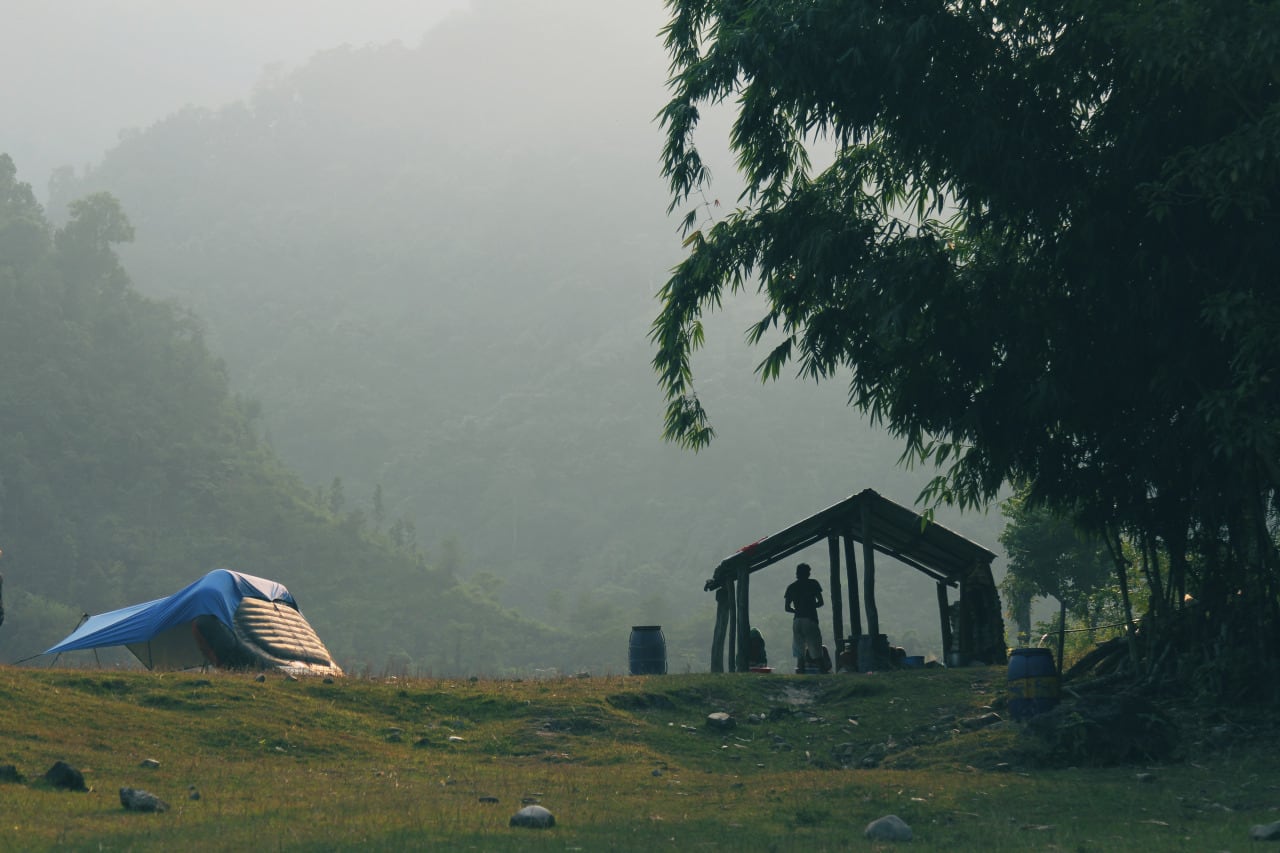
Use Weather to Your Advantage
Overcast days produce soft, even light — ideal for portraits and street scenes. Rain creates reflections in puddles and wet streets that double the visual interest of a scene. Fog adds atmosphere and depth, naturally obscuring backgrounds that might otherwise be distracting.
Bad weather often leads to better photos than a clear blue sky, especially in cities. The conditions most tourists avoid tend to produce the most distinct results.
One more thing worth understanding: the direction light comes from changes everything. Front light (behind you) is flat but even. Side light adds texture and dimension. Backlight creates silhouettes and rim lighting, which looks dramatic but requires more control over exposure.
Composition Techniques That Instantly Improve Travel Photography
Composition is about deciding what goes where in the frame. It sounds simple, but most photos fail here. The good part? You don’t need complex rules. A few simple techniques can improve your travel photography right away.
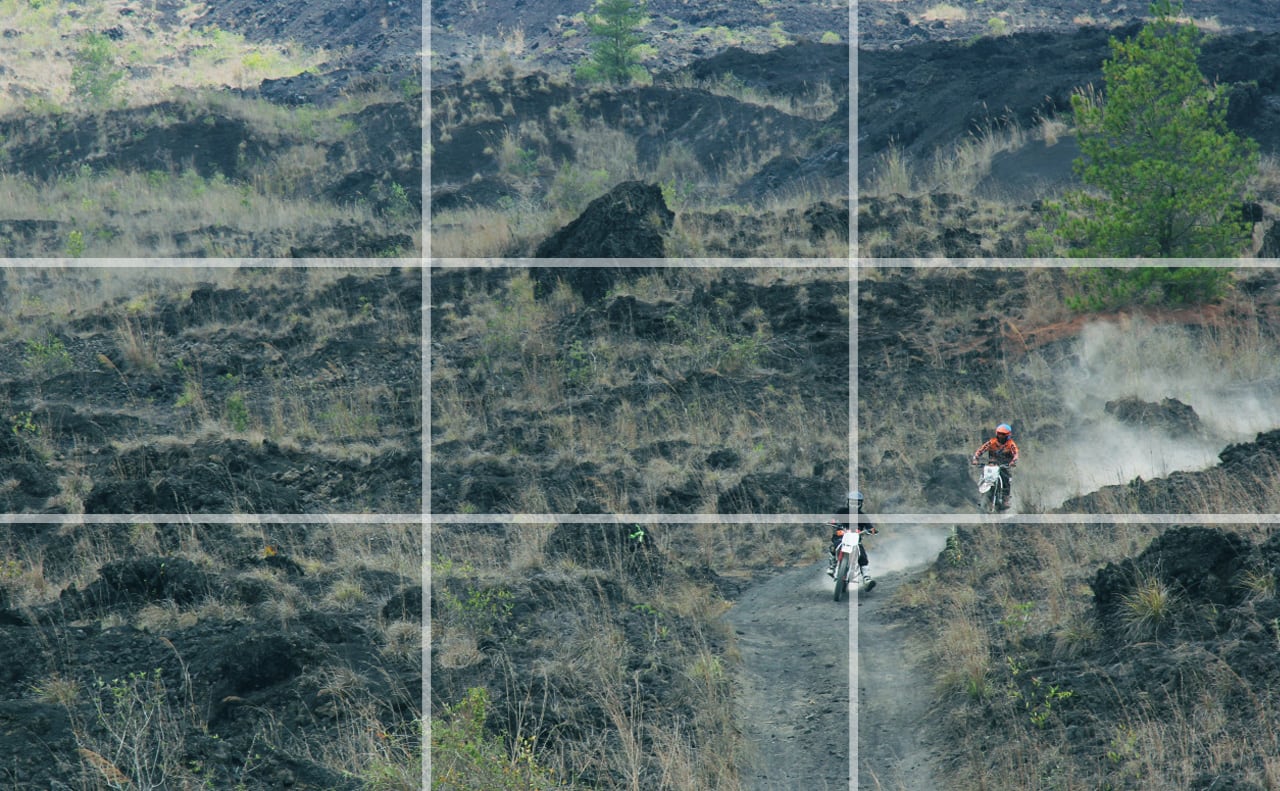
Follow the Rule of Thirds
Turn on your camera's grid lines. The rule of thirds divides the frame into a 3x3 grid, and placing your subject at one of the four intersection points tends to feel more balanced than centering everything. Horizons usually look better on the upper or lower third, not straight across the middle.
Though, it’s still just a guideline. Centered shots can work too, especially with symmetry. Use it when it helps, ignore it when it doesn’t.
Create Depth with Leading Lines
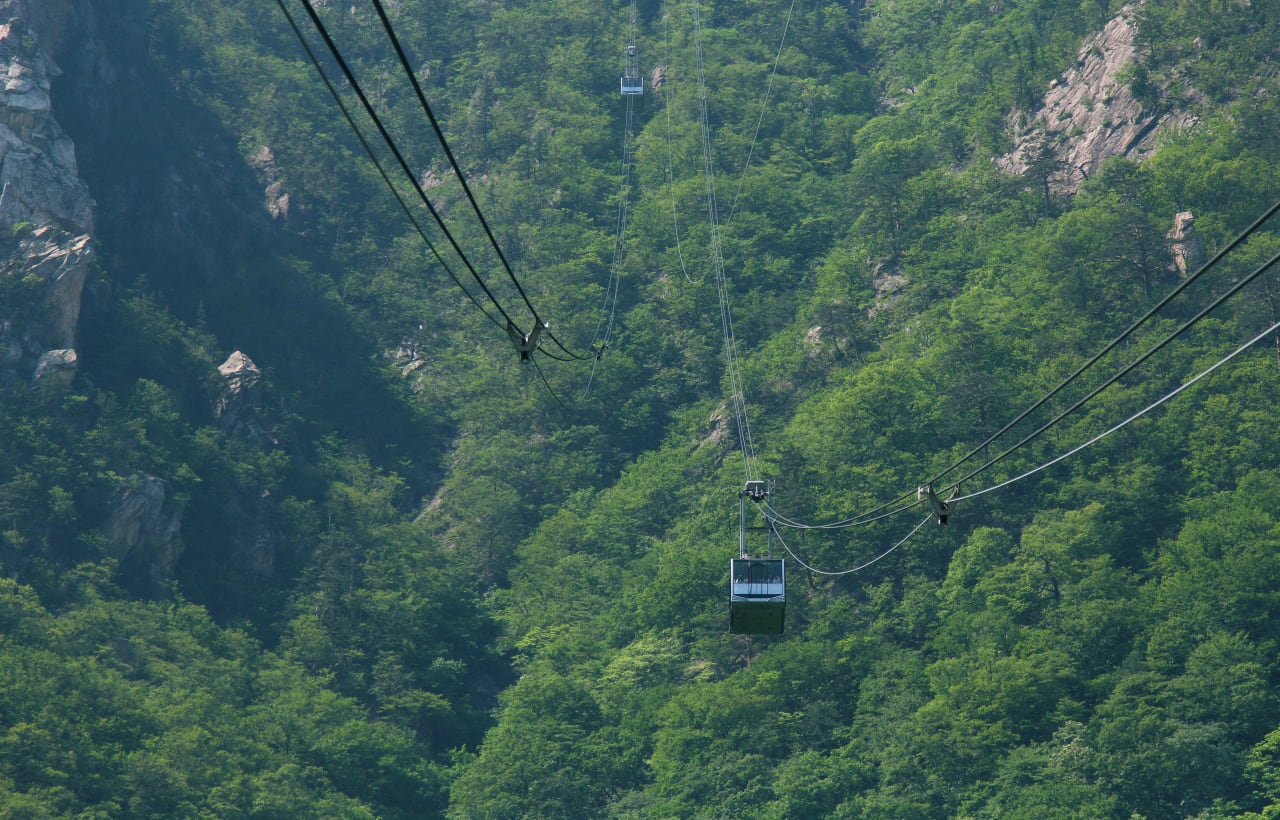
Leading lines such as roads, fences, rivers, or staircases help guide attention toward your subject. They're especially effective for showing distance and scale in wide open environments.
Adding foreground elements does something similar. A low camera angle combined with something interesting in the foreground, like rocks, flowers, or a cobblestone path, creates layers and makes a flat scene feel three-dimensional.
Keep It Simple and Remove Distractions
Many photos fail because they include too much. When everything competes for attention, nothing stands out. Before you shoot, scan the edges of the frame. Is there a sign, a bin, a parked car, a stranger's elbow cutting in from the left? Move slightly until the background is cleaner. It takes a few seconds and makes a meaningful difference.
Fill the frame more than feels natural. Getting closer eliminates weak, cluttered backgrounds and forces the viewer to focus on what actually matters.
Use Color and Contrast
Color helps direct attention. Bright or contrasting areas draw the eye first.
If your subject blends into the background, the photo feels flat. But contrast — light vs dark, warm vs cool — makes it stand out naturally. When scouting a scene, ask whether your subject will stand out against what's behind it, or get lost in it.
Travel Photography Ideas: What to Shoot and How to Make It Interesting
Once you understand light and composition, the next question is what you should actually photograph. The classic travel shot with a landmark, blue sky, and no people is fine. But it's also the same photo millions of other tourists took. Here's how to build something more varied.
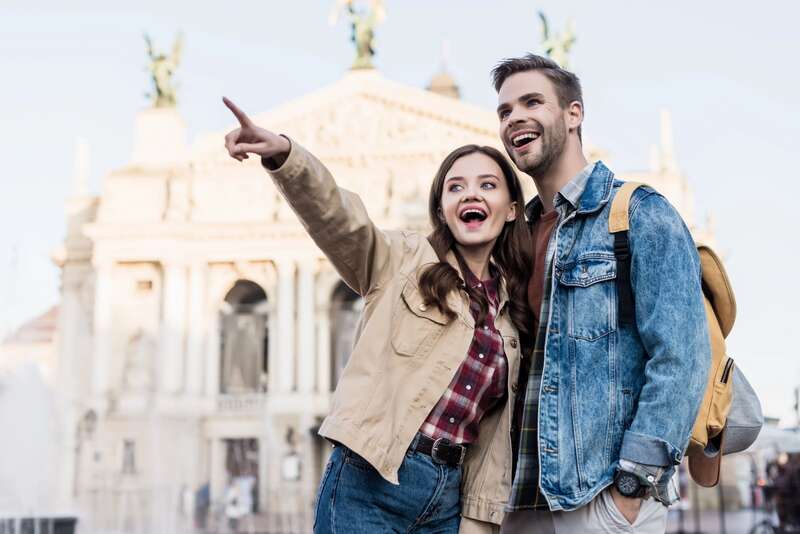
Capture People and Add Emotion
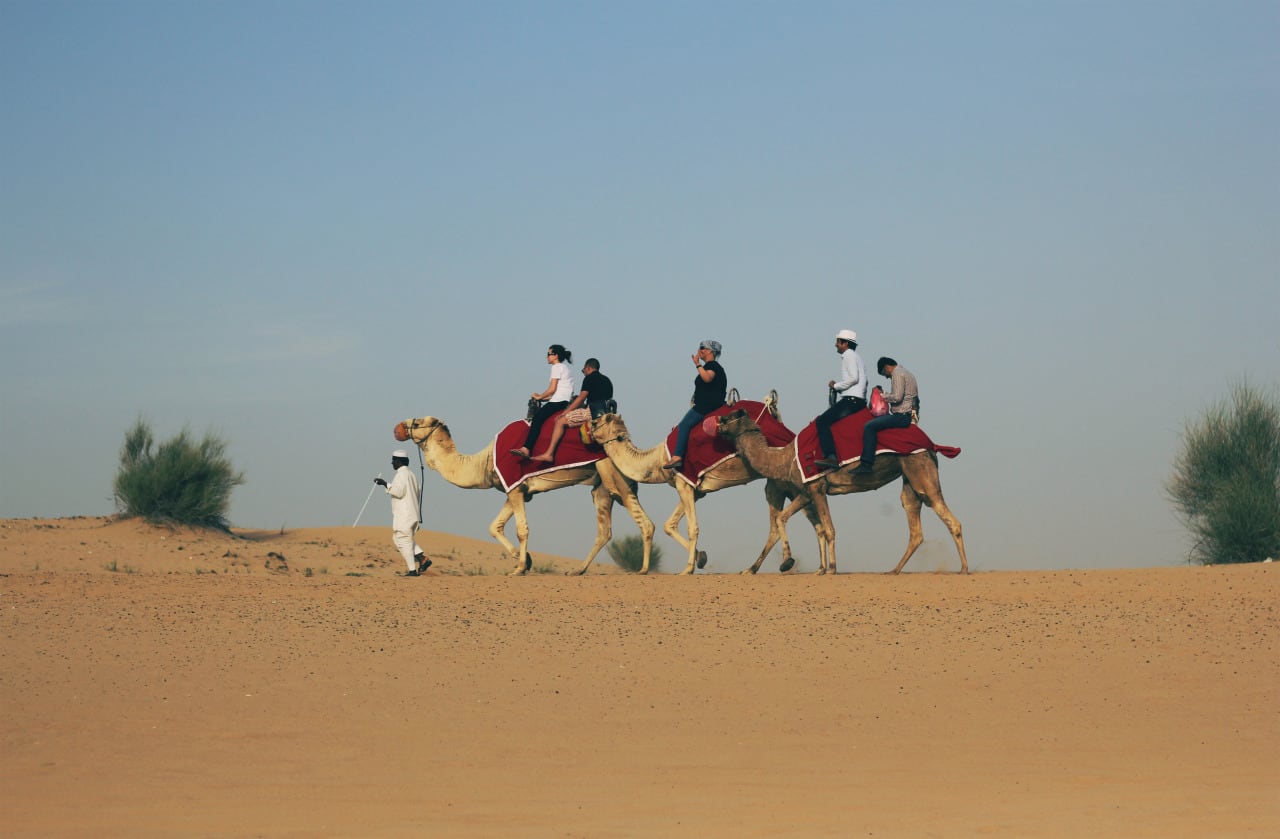
People give scale to large landscapes and add a human dimension to any scene. A person standing in front of a mountain tells a story that an empty mountain doesn't. For portraits, ask permission where it matters. For street scenes, get comfortable taking photos without interrupting the moment — people in motion, unaware of the camera, tend to look more natural.
Eye contact can be powerful when it happens, but it isn't always needed. Often the best shot is the one taken just before someone looks at the lens.
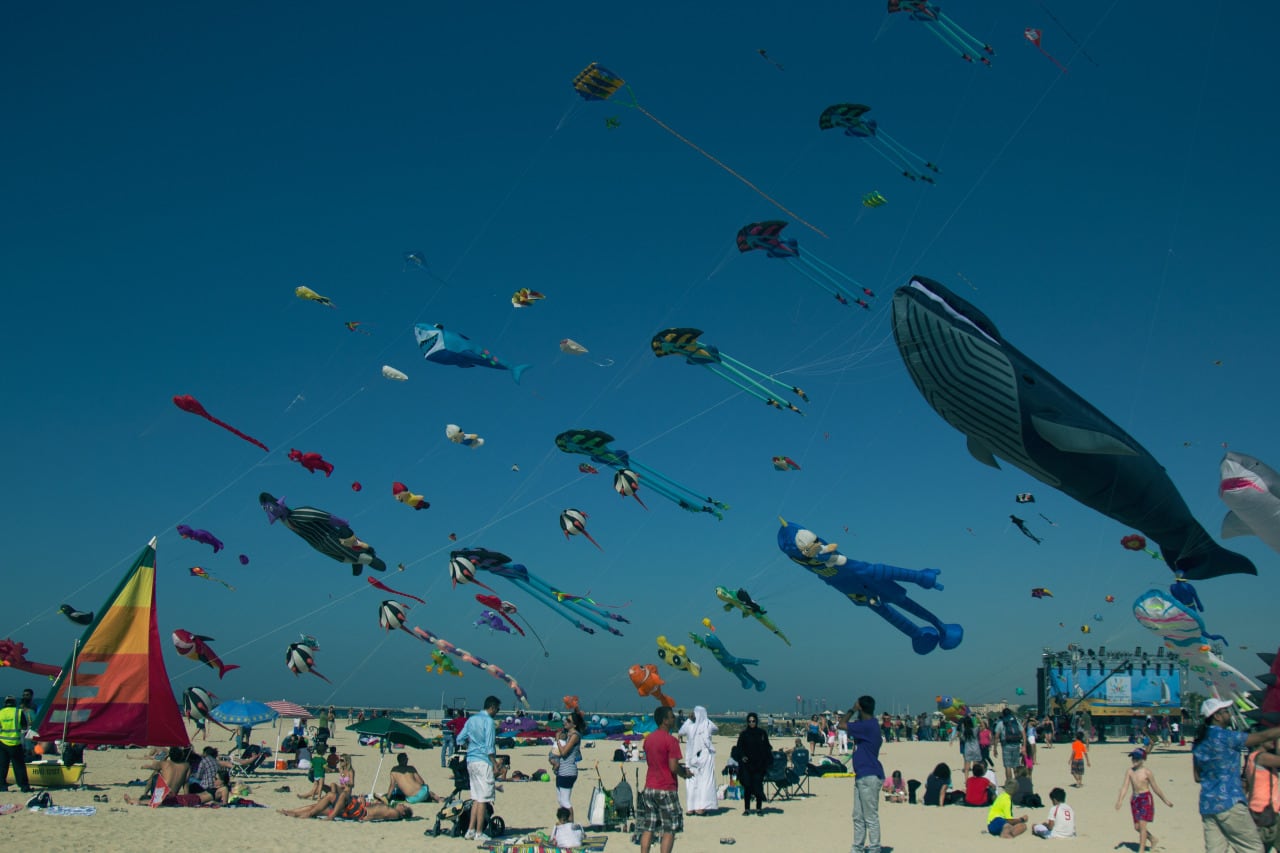
Shoot Details, Not Just Landmarks
The food, the door handle, the texture of a market stall, the pattern on a tiled floor — detail shots like these build context. They tell a story about a place without needing to show the whole thing. They're also often the photos that bring a trip back most vividly, years later.
Mix wide shots that establish place with close-ups that show texture and character. The combination is what makes a photo set feel complete rather than random.

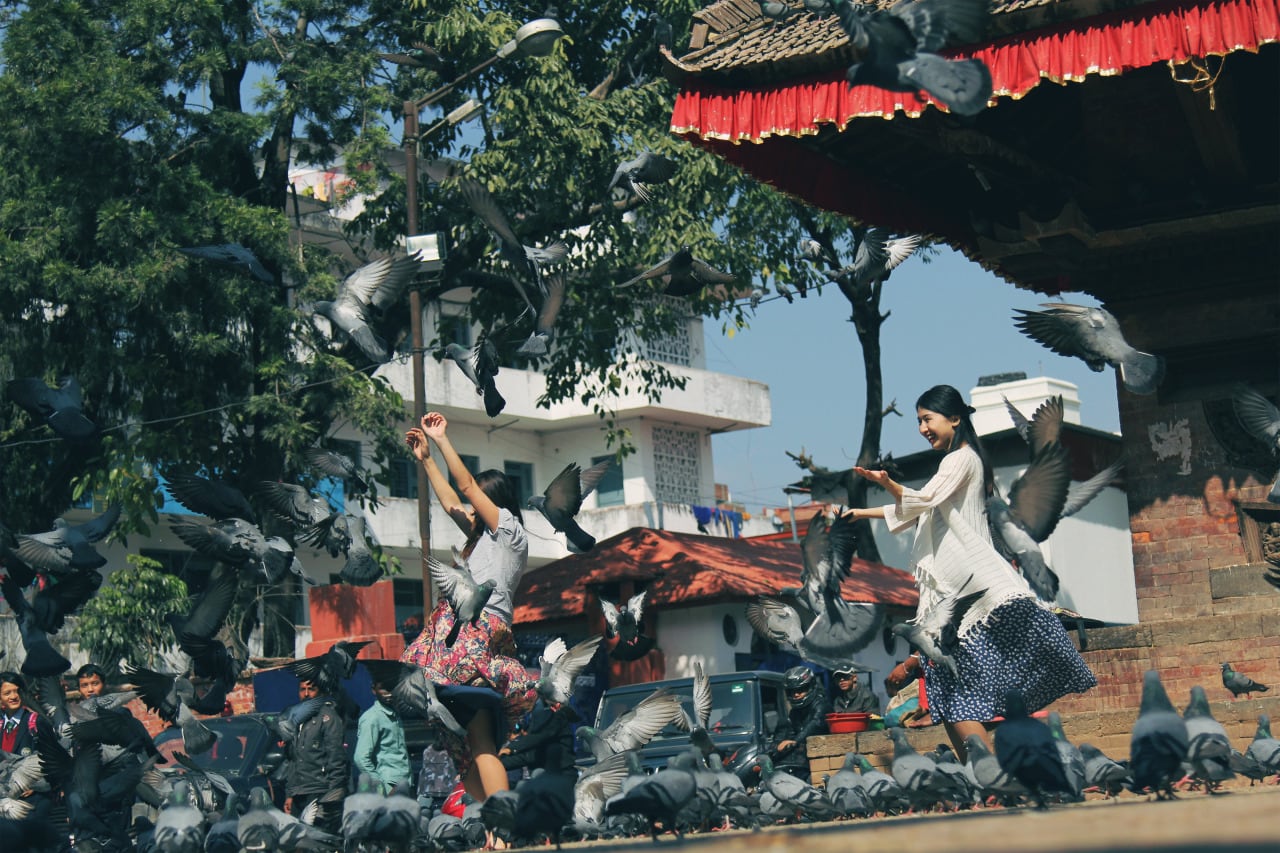
Use Movement
Movement adds energy. This can be simple: people crossing a street, cars passing by, waves hitting the shore. You don’t need advanced settings. Even slight motion can make a photo feel more alive.
Change Angles and Perspective
Most photos are taken at eye level. That’s why many of them look similar.
Try something different. Shoot from lower or higher. Step to the side. Move closer. Take the same subject from a few angles and compare the results
The most useful thing you can do with any subject is to walk around it for a minute before shooting. Almost every scene has a better angle than the obvious one. You just have to find it.
Shoot Less, Think More: How to Take Travel Photos That Matter
Most guides on tourism photography don’t really mention this, but you should shoot less. Or rather, shoot with more intention. Taking 400 photos a day is easy. Taking 40 good ones is harder and more satisfying.
This idea comes up often among photographers. In discussions like this thread on r/AskPhotography, people consistently point out that better photos come from slowing down and thinking through each shot — not from volume.
Before you shoot, pause for a second and ask:
- What is the subject?
- Why am I taking this photo?
If the answer isn’t clear, the result usually won’t be either.
Simple Editing Travel Photography Tips for Beginners
Editing doesn't fix a bad photo. But it finishes a good one. Even modest adjustments can lift an image from decent to genuinely good.
Start with the basics:
- Exposure – brighten or darken the image slightly
- Contrast – add separation between light and dark areas
- White balance – fix colors if the image looks too warm or too cold
Then move to structure:
- Crop – improve composition or remove unnecessary space
- Straighten – fix the horizon if it’s off
On mobile, Snapseed is free and genuinely capable — the selective adjustment tool lets you brighten or darken specific parts of an image without affecting the whole frame. Adobe Lightroom offers more precision if you're willing to spend time learning it. For quick edits, your phone's built-in editor handles the basics well.
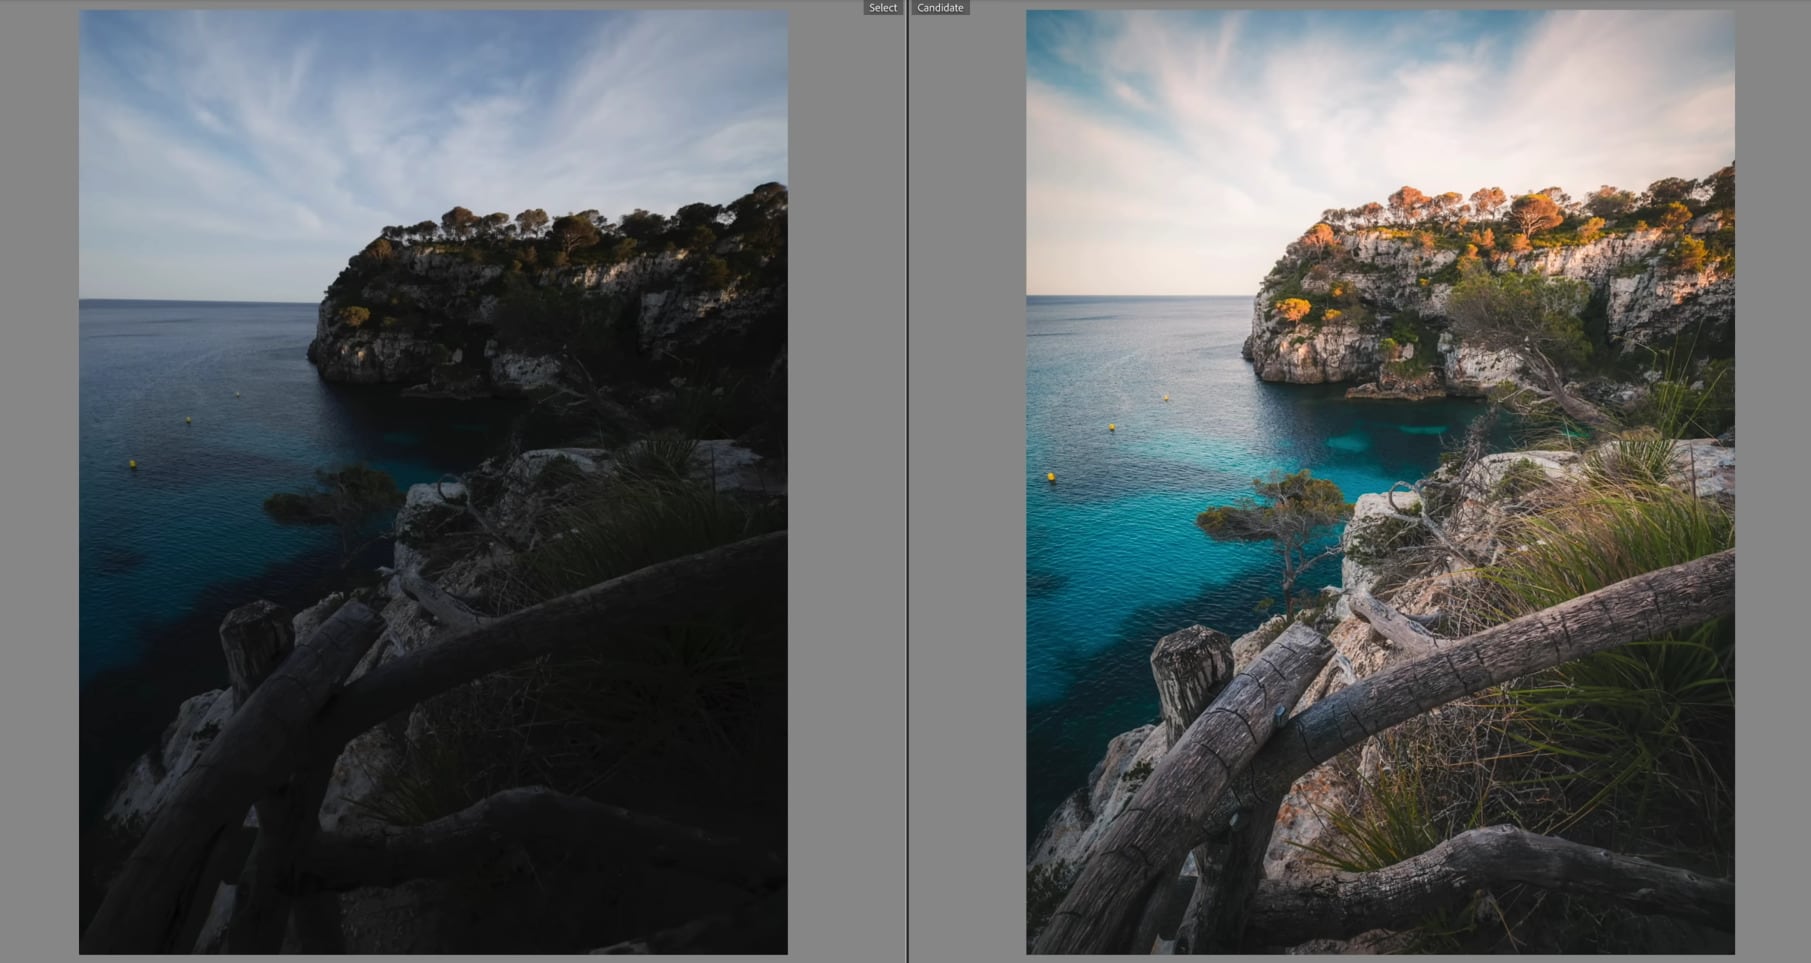
Example based on a frame from this video.
A good rule is that if the first thing you notice is the editing, it’s probably too much. Editing should support the photo, not replace it. If the shot works from the start, you won’t need to fix much.
Conclusion
Great travel photography depends on light, composition, and intention, not on gear.
Prepare your setup so nothing gets in the way. Shoot when the light works for you. Keep your frame simple and focused. And most importantly, slow down enough to understand what you want to capture.
With practice, even a smartphone produces images that capture not just what a place looked like, but what it felt like to be there.


Write Your Comment
Please DO NOT include links, URLs or HTML in your comments - they will be automated deleted and you will waste your time.